Weekly Windows Dockerfile #7
There are 52 Dockerfiles in the source code for my book, Docker on Windows. Perfect for a year-long blog series.
Each week I’ll look at one Dockerfile in detail, showing you what it does and how it works. This is #7 in the series.
Docker Images and Image Layers
This week’s Dockerfile is a simple example, used to demonstrate how image layers and layer caching works in Docker. Layers are a major factor in the efficiency of Docker, compared to other virtualization options.
A Docker image is built from multiple layers, and the layers are cached in Docker’s local disk store. The Windows Server Core image is pretty much a full installation of Windows Server 2016 Core, and its logical size (the size of all the layers combined) is over 11GB. That’s still much smaller than you’d allocate for a VM disk, but it’s even more efficient because Docker shares the layers.
If you have 100 application images all using the same Windows Server base image, they all share the base image layers. The application images only use disk space for the layers they add on top.
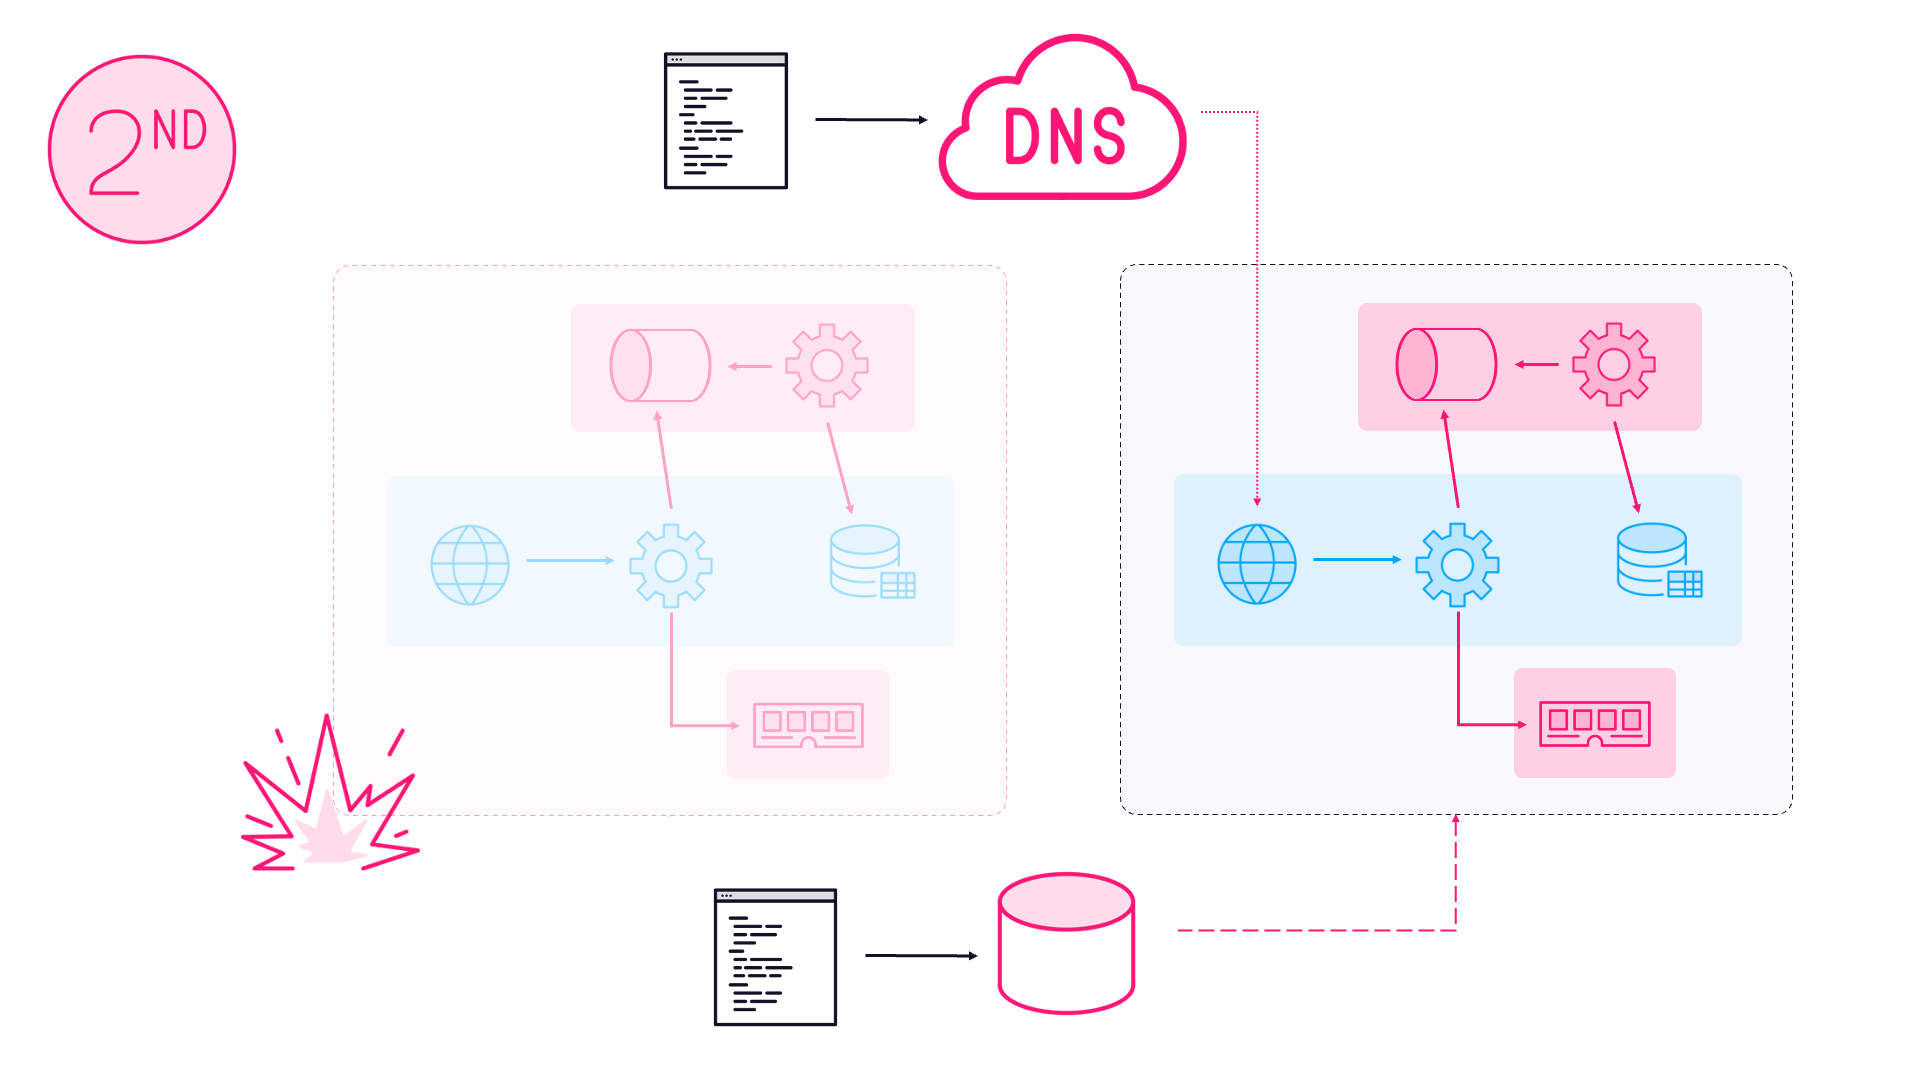
When you run a Windows container from an image, Docker creates a virtual filesystem in the container, where the C drive is composed from all the image layers. The image layers are read-only (which is how they can be shared by other containers), and each container has its own writable layer on top:
When you update data in a container, the changes are all stored in the writeable layer. New files are created there, and files being changed from an image layer are copied into the writable layer. You can’t change the content of image layers once they’re created.
Building Image Layers
When you run docker image build each instruction in the Dockerfile is executed in a container. Docker creates a container from the previous image state, runs the instruction in the Dockerfile, and saves the result as a new image layer.
Docker checks the input going into the image (the Dockerfile instructions and any files being copied) and compares it to the output image layers in the cache. If there’s an exact match, the build process just uses the layer from the cache - that’s why repeating an image build is much faster, and why you should structure your Dockerfiles so the most commonly changed parts are towards the end of the file.
It’s important to understand that layers get cached, and that layers are built by intermediate containers. If you run an instruction during the build, it gets executed in a temporary container which is then removed. Any state changed in that container gets saved in the image.
ch02-static-website
This week’s Dockerfile demonstrates that. It’s a simple static website, which uses a templated HTML file:
<html>
	<title>
		This is: {environment}
	</title>
	<body>
		<h1>Hello from {hostname}!</h1>
	</body>
</html>
The goal is for the web page to display some details about the current runtime, like the hostname and the name of the environment. In this implementation, the values are injected during the build process - which is going to give you an unexpected result. Unless you’ve been paying attention to the stuff about intermediate containers.
The Dockerfile
Nice and straightforward, this is the Dockerfile for dockeronwindows/ch02-static-website:
# escape=`
FROM microsoft/iis
SHELL ["powershell"]

ARG ENV_NAME=DEV

EXPOSE 80

COPY template.html C:\template.html

RUN (Get-Content -Raw -Path C:\template.html) `
     -replace '{hostname}', [Environment]::MachineName `
     -replace '{environment}', [Environment]::GetEnvironmentVariable('ENV_NAME') `
    | Set-Content -Path C:\inetpub\wwwroot\index.html
The start is straightforward, using the backtick escape character, starting from Microsoft’s IIS image (built on Windows Server Core), and switching to PowerShell for subsequent commands.
Then:
ARG captures a build-time environment variable. Here the ENV_NAME variable is available to change during the build, but if not changed it will have the default value DEV;
EXPOSE makes port 80 available to be published by containers. Not strictly necessary because the microsoft/iis image already does this, but it makes the port clear to readers;
COPY copies in the template HTML file;
RUN executes some PowerShell to replace the template variables in the HTML file with the actual values from the running container.
It looks fine, but the RUN instruction is executed during the build, so the running container will be the intermediate container executing that instruction. When you run a container from this image, the hostname in the HTML file will always be the ID of the intermediate container used in the build, not the actual ID of the container hosting the app.
Usage
You can build the image in the normal way, after cloning the sixeyed/docker-on-windows repo:
cd docker-on-windows\ch02\ch02-static-website
docker image build -t dockeronwindows/ch02-static-website .
Or you can override the variable used to set the environment name in the build, which is shown in the title bar for the website:
docker image build -t dockeronwindows/ch02-static-website --build-arg ENV_NAME=TEST .
Or just use the public image on Docker Hub.
Then run the container and browse to the website:
docker container run -d -P dockeronwindows/ch02-static-website
As you can see in the video, the web page does not show the correct hostname of the container:

In this run, the container’s hostname starts
1ac636, but the web app shows a hostname that startsa6e35d. The website is showing the hostname of the ==intermediate container ==that executed theRUNinstruction, which updated the HTML template.
If you need to update a template with data about the runtime, you need to do it in the CMD or ENTRYPOINT in the Dockerfile. Then it will be executed by each container when it starts, rather than being executed by the intermediate build container and then persisted in the image layer.
Next Up
Next week it’s ch02-fs-1, an image used to clarify how the virtual filesystem in constructed inside a Docker container on Windows.


Comments